We're doing things a little backwards since so much has gone on that we haven't had a chance to post the beginnings of the gardens. It is now time to begin harvesting - along with weeding and watering. Today, let's harvest and preserve the beets.
Begin by pulling the beets from the ground and holding the beet in one hand, twist the greens from the top and place the beet in a container you've brought along for the harvest. At this point, the greens can be put in the compost pile, fed to the chickens, or - my favorite - preserved also. Beet greens are very nutritious and can be simply torn into a salad, lightly sauteed in olive oil or butter with a little garlic, or lightly steamed, cooled, and frozen for winter soups and stews.
Wash the beets with a stiff brush and set aside.
Before going any further, you will want to assemble the following:
A large pot filled with water and placed on the stove to boil. This pot is to heat the beets through and aid in removing the skins. When the water is near boiling, place all of your beets in and allow to cook for 15 to 25 minutes. Check the beets regularly, smallest first. You don't want them to be mush - just cooked until a knife can be gently inserted.
A pressure canner - be sure to check that the steam vent is clear and the gauge is securely attached before every use.
A kettle set on the stove with water to boil. You will likely fill this a few times.
Clean canning jars - when choosing the size of the jar, think about how many beets (or other harvest) your family will eat at a meal. We rarely would use more than a pint of beets at a time, so this is what we are using. When reusing jars, be sure to check for cracks or chips before every canning session. Wash your jars in warm soapy water, rinse well and set aside.
Clean screw bands - check these regularly and do not use those with any signs of rust for canning.
New canning lids - these come in two sizes, be sure to get the ones that match the opening of your jar - regular or wide-mouth. Place the lids and bands into a pot and cover with boiling water - keep these on low until needed.
A jar lifter.
A magnetic lid lifter comes in handy.
A large slotted spoon to lift beets from the cooking water.
Place the pressure canner on the stove and add 3 and 1/2 quarts of water. Turn the heat to about medium and allow the canner and water to warm.
Pour boiling water into empty jars to warm them.
As beets are ready, remove from boiling water and carefully trim off root, stem, and peel (these will come off pretty easily after cooking). Leave small beets whole if you'd like, and slice or cube larger beets as desired. Pour water from hot jars one at a time and fill, leaving one inch of headspace - this is about to the first band at the top of the jar or just above the shoulders of the jar. When the jar is full of beets, fill the jar with boiling water from the kettle - only to the one-inch mark.
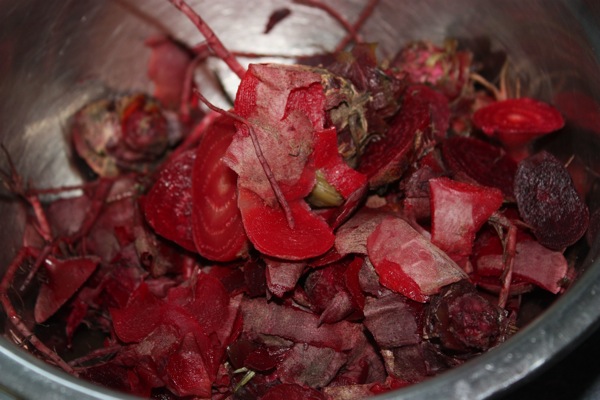
The beet trimmings are awesome compost material!
Clean the top of the jar with a clean cloth, place a lid on the jar, then a band and tighten just until band is snug. You want to be sure the jar is tight enough to not allow liquid to escape in processing, but not overly tight.
When all jars are full, place in pressure canner and allow water to come to a boil.
At this point, you will want to be sure to follow the instructions that come with your particular pressure canner. This is what we do:
Place lid on pressure canner and lock. Keep canner on a relatively high heat and watch for steam to flow freely from vent. When this occurs, set the timer for 10 minutes. This gives you a little time to clean up - the rush is over - now is the waiting.
After 10 minutes of free steam flow - it is time to pop the pressure regulator on the vent pipe, leave the heat relatively high and carefully watch the pressure gauge.
For beets, we want the pressure to reach 11 lbs. At this point, we can begin timing. The heat should be turned down to maintain 11 lbs of pressure. From experience with an electric stove, this means turn the heat WAY DOWN and watch the gauge. Adjust as necessary to maintain the proper pressure throughout the processing time. For our pint jars, this will be 30 minutes; for quarts, 35 minutes. (at high altitudes, all of this information changes-read instructions carefully)
While you are nervously (or otherwise) pacing the kitchen watching the pressure gauge, get yourself a clean dry towel and lay out on a counter with the jar lifter.
After 30 minutes processing time, we remove the pressure canner from the heat and place aside to cool. Do NOT remove the lid. Allow the pressure to drop naturally and remove pressure regulator and lid only when pressure gauge reads 0.
When pressure has dropped and lid is removed, we allow another 15 minutes or so before removing the jars.
Remove jars carefully and place on clean dry towel. We cover the jars with the towel to further regulate the slow cooling process.
Now the music of your harvest begins - all of your hard work glorified in the popping and pinging of the food you and Mother Earth brought to the pantry. Leave jars overnight and check in the morning to be sure each lid is securely sealed. The lid should pull down into the jar and seat fimly, no popping noise when carefully pressed. Any that have not sealed can be refrigerated and eaten within a week or two, depending on the veggie.
We do not add salt to canned vegetables. If you'd like to, you may add 1/2 teaspoon to each pint, or 1 teaspoon to each quart before adding beets, water, and lids.
Most vegetables can be processed in this manner. Here is the timing for a few:
Green Beans - 20 min pints; 25 min quarts
Pinto Beans - 40 min pints; 50 min quarts
Corn - 55 min pints; 85 min quarts
Carrots - 25 min pints; 30 min quarts
Peas - 40 min pints and quarts
We highly recommend the book -
Ball Complete Book of Home Preserving
. This book has all of the basic canning information you will need as a beginner. Recipes for pantry items you can make with your own produce, such as mustards, ketchup, tomato sauce, and salsa, are a a big help when growing and producing your own food. There are also some very creative recipes to help you preserve your produce as gifts and special treats.
Happy Harvesting!
Dharma Dogs Farm


 . So much of what I found in this book rang true to me, from poisons in our food, to the real causes of cancer, and the inhumane treatment of animals. I immediately began rethinking everything I was eating - no longer eating anything made with eggs unless the eggs came from my own coddled hens. Casein became an enemy - causing cancer almost as certainly as bleach will. I even investigated the alcohol we drink - and personal products we are using.